


We’re at the end of our short training series on producing your first tune in Ableton Live. We had fun putting this together for you, and we hope that it encouraged you to get down and dirty with the popular DAW, and that you gained some insights into what goes on behind the curtains of music production. This is only the tip of the iceberg for both Ableton Live and the production process, as there are so many other things going on behind songwriting, synthesis, and engineering / mixing, and hopefully the techniques you’ve learned in this series are learnings that you take with you for years to come.
In this final tutorial, we’ll adjust the levels of the individual tracks in your production so your levels don’t go “in the red”. We’ll also add a few compression plugins to your drums and bass tracks, as well as a limiter to the Master bus. Finally, we’ll create a mixdown of your production so that you can upload and share it with friends.
Adjusting levels
At the moment, we haven’t adjusted any of the volume faders in Live’s mixer, and if you look at the meter in the Master bus all the way to the right of the Session View screen, it’s probably turning red. This is because it’s “clipping”, which happens because it’s overloading due to the volumes of your individual tracks being too high collectively.
Instead of turning down the Master fader, which will indeed lower the volume and prevent it from clipping, it’s best to turn down the individual track volumes one by one. This ensures that the tracks themselves aren’t clipping which would still lead to distortions even if your Master bus isn’t “in the red”.
Start by highlighting the first track channel of Live’s mixer all the way to the left (Drums, in my example), hold shift, then click the last track channel all the way to the right (Transition). Once highlighted, left-click on any of the volume faders and drag down to decrease their levels. Do it slowly while playing back your song, and continuously check the Master fader: If it stops flashing red, you can stop lowering the volume.
Follow along the video closely to see how I balance out my mix by adjusting the levels of the individual faders while using the DRUMS track as a reference. Feel free to experiment and mix levels your way, too!
Adding compression
Next, we’re going to give your drums a little bit more character and aggressiveness. Compression works by making the soft parts louder and the loud parts softer, leading to a decrease in dynamic range in exchange for a more “in your face” sound. Properly applied compression can make a track sound punchier, while over-compressing it can make it sound squashed.
Check out how I add a compressor to the Drums and Bass tracks in the video, and copy the settings I use to start off. Once you’ve got them dialled in, go ahead and mess around with the Ratio, Attack, Release, and Threshold controls to see how compression works.
Compression practice
Try practising setting a compressor in the Drums track by following these steps:
- Drag the Threshold control all the way down, turn the Ratio knob fully clockwise, and turn the Attack knob fully counterclockwise. Solo the Drums track and hit play. You’ll hear it sound really squashed
- Now slowly turn the Attack knob clockwise until you hear the “click” of the kick drum come through; this is the drum’s transient that you’d want to hear. If you turn it clockwise further, you’ll hear a lot more of the drum’s transient along with the rest of the other sounds in the drum track. That’s because setting a longer attack time (clockwise) means that it takes longer for the compressor to act and compress the sound. Turning it counterclockwise makes the compressor react faster; setting an Attack that’s too fast means even the drum’s transient is compressed, which isn’t what we want to achieve in this scenario
- Now move the Ratio knob counterclockwise to about 3:1, which is a more decent setting than the extreme one we had earlier. Drag the threshold slider up until you can hear the drums “breathing” more instead of being squished
- Move the Release knob fully counterclockwise. Hit play, then rotate the Release knob clockwise all the way, you’ll begin to hear the drum track “dull” a bit; that’s because the compressor is “holding” the compressed signal for too long without releasing it. Turn it to around 9 o’clock or 11 o’clock for a more conservative setting. You can also try clicking “Auto” below it to hear what that sounds like
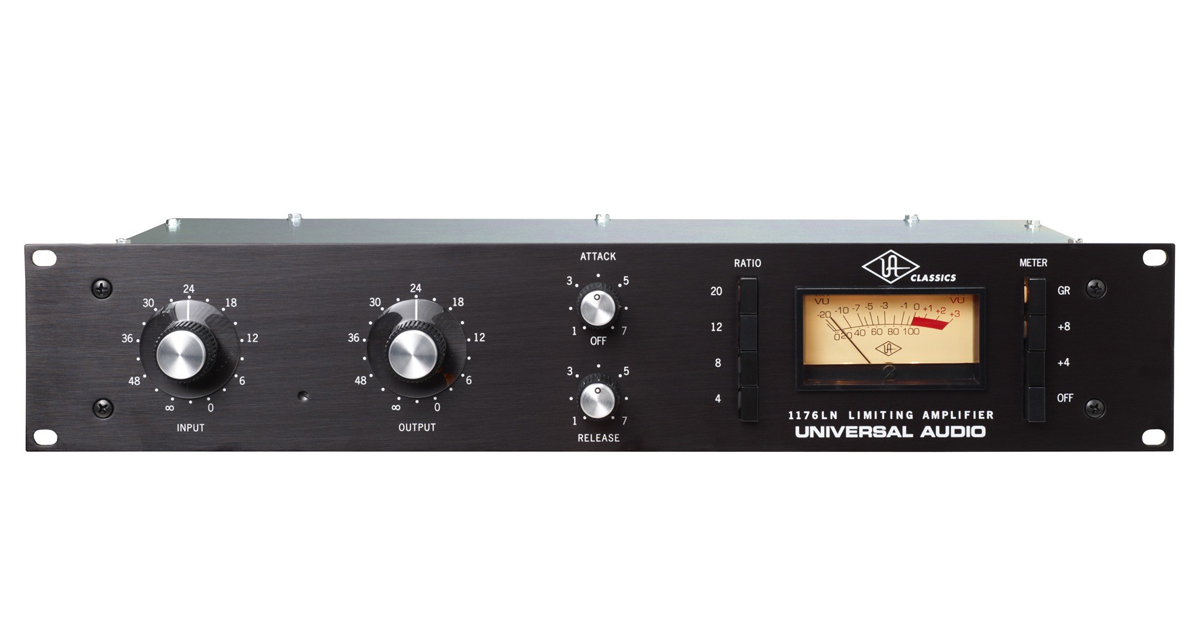
Adding a limiter
Now that we’ve adjusted our levels and added some compression to a couple of our tracks, you’ll notice that the overall volume of our production is lower compared to a commercially released dance track (try playing one from your DJ library now to find out what I mean). That difference in level is due to the fact that our track hasn’t been mastered yet.
What is mastering?
The final stage in any music production process before it goes to a CD plant for replication or before it gets uploaded to a music service (eg iTunes, Spotify, etc) is called mastering. Mastering adds the final polish to your song by making very subtle EQ, compression, reverb, sound stage, and dynamics / limiting tweaks, making it sound consistent across all playback systems like your iPhone earbuds, car stereo, or club sound system.
Mastering also increases your song’s overall loudness without clipping or distorting it, making it the same volume as other commercially released tracks in your library.
While there’s no substitute for a proper mastering session conducted by an experienced mastering engineer, we can try applying a limiter effect to our master bus to get its overall loudness level up. Do note that adding a limiter is only one aspect of the complicated and quite technical mastering process, so I highly recommend working with a mastering engineer when you want to publish your tracks for commercial release later on.
Follow along the video to see how I insert a limiter plug-in on the Master bus. You can copy the setting that I used, but again feel free to play around and tweak it to your liking.
Taking it further
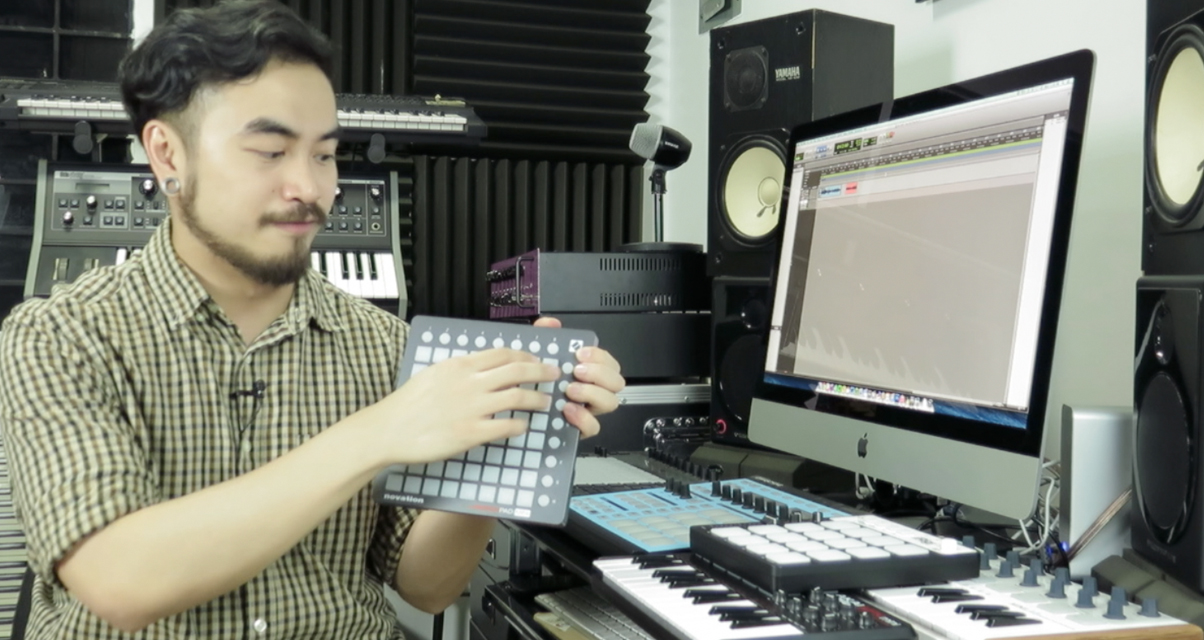
If you enjoyed this short production course, why not kick it up a notch and work with a hardware controller? Pairing Ableton Live with a two-octave keyboard controller is an inexpensive way to learn more about the production process while also giving you more hands-on control instead of just using a mouse and keyboard.
You can also opt to use other types of controllers like a drum pad, or even a device called Push that’s tailored specifically for performing and producing with Ableton Live. As always, start small instead of buying a bunch of controllers all at the same time: Each piece of gear that you buy always comes with a learning curve no matter how steep, so you’ll want to make sure that you learn as much as you can about its functionality and role in your bedroom studio before you make another purchase. Check out the video for a quick rundown of controllers that I recommend for Ableton Live.
This week’s video
Here are the other parts in this series:
• Making Your First Tune: A Guide For DJs, Part 1
• Making Your First Tune: A Guide For DJs, Part 2
• Making Your First Tune: A Guide For DJs, Part 3
Give us your feedback!
Have any questions about balancing levels, adding compression, or limiting? Any topics you’d want us to cover in future production tutorials? Let us know what you think in the comments section below, we’d love to hear from you.
Want to take this further?
Learn to make your own tracks quickly & easily to fast-track your journey to becoming a DJ/producer, with our revolutionary online video training course that shows you exactly how to make a dance track right from the very start.

Joey Santos


![Grimes's DJ mess-up - Lessons for us all? [Live Q&A]](https://cdn.digitaldjtips.com/app/uploads/2024/04/19032806/18april-WEBSITE-150x150.jpg "Grimes's DJ mess-up - Lessons for us all? [Live Q&A]")