

This is the second part of a fortnightly guest series by Chris Cartledge of ohdratdigital.com.
No, this episode of How To Earn Your DJ Stripes isn’t about using Facebook or Twitter, but rather about the more fundamental subject of electrical connections. There are multiple stages between whatever it is that makes music and the sound that hits the dancefloor, but it can be a bit tough to picture exactly what’s going on with your sound, especially when many of those stages nowadays are “virtualised”. Unless you can do this, however, all kinds of pitfalls await you.
Worst comes to worst, you’ll be at a party where there’s equipment that your software experience can easily transfer over to… but you can’t figure out how to plug it in. Or, perhaps you’re puzzled as to why your sound doesn’t bang as hard as it does at the club. So this time we’re going to take a little look at signal flow, or the journey that sound takes to get to your ears.
Phono vs line inputs
Vinyl aficionados have the most stages to contend with – the romanticism of plastic disks begins with the fact that the signal is, by its nature, analogue. The surface of a record has a spiralling groove that begins on the outside and ends in the centre, and if you magnify it (or if you have bionic sight) and look very closely, you can see little bumps on either side of the groove.
As the grooves are dragged past the stylus, the stylus is vibrated around, and of course, vibrations create sound. Indeed, in a quiet room, you can hear music playing directly off a stylus. But there is a magnet in the cartridge too, and the movements of the stylus against this create minute electrical impulses which pass along the cable to the mixer.

Understanding this is important to appreciate the difference between “phono” and “line” inputs on DJ equipment. Because the electrical signals carrying the sound that come down the lead from a turntable are so quiet, they need to be boosted before they goes into the main part of a mixer.
The stage that does this is called a “phono preamp”. (You will also encounter mic preamps, and there is a difference in the way that the two boost and EQ the sound to get it to your ears – but they also feature different connectors, so you needn’t worry too much about getting them mixed up.)
How DJ mixers and controllers handle the inputs
DJ mixers and controllers with analogue inputs usually have a phono preamp built in to each channel, and there are usually two connections on the back of a mixer for each channel – one that uses the preamp, and another that bypasses it (alternatively there may be just the one connection but with a switch).
Line level devices (such as CD players) bypass the preamp as they already output at the level that the mixer works with – so it’s important not to plug a line level device into a phono socket as you will end up with terrible distortion that could lead to damage of your mixer and speakers. Plugging a phono signal into a line input isn’t as destructive, but you will barely hear it.
Analogue vs digital
Occasionally, equipment comes with the option to transfer sound digitally rather than through analogue. There is no direct answer as to which is better, as all such equipment is different, featuring different analogue to digital converters, or ADCs, and DACs, which stands for… you guessed it. Where you have this option either the deck or the mixer is going to have a better DAC stage (or if it’s a turntable going into a digital amp/mixer, ADC), and you should play to the strengths of your equipment by using the connection that preserves the most fidelity of your audio. Don’t be scared to trust your ears when making your decision here.
Understanding gain
How much a signal is amplified is called the gain stage, and the basic rule to apply to gain is to maximise the level of the signal as early as possible. If you have a master volume on your deck, that should be full, as should the master volume on the mixer itself, and output levels to the speakers should be adjusted on the speakers themselves. (If the mixer goes to a house system that has a constant volume, of course, then the DJ mixer output level comes into play.)

This is because when the signal is amplified, the noise, ie unwanted sound, that is present in the signal is also amplified. Noise will remain fairly constant in a signal, whereas sound can be turned up or down. If your sound is not as loud as it could be, the signal-to-noise ratio (SNR) of the output is not as good as it could be, and sound quality will suffer.
Gain and EQ on your mixer
The above description has a missing link, and that’s the gain and EQ on each channel of your mixer. There is no more important section of your signal chain than this when it comes to audio quality, and that is because while your equipment is usually set to what is called “unity gain” when it is turned to full volume, meaning the most efficient signal it can transmit, per-channel gains and EQs are designed to allow you to boost the outputs in case the signal is too quiet.
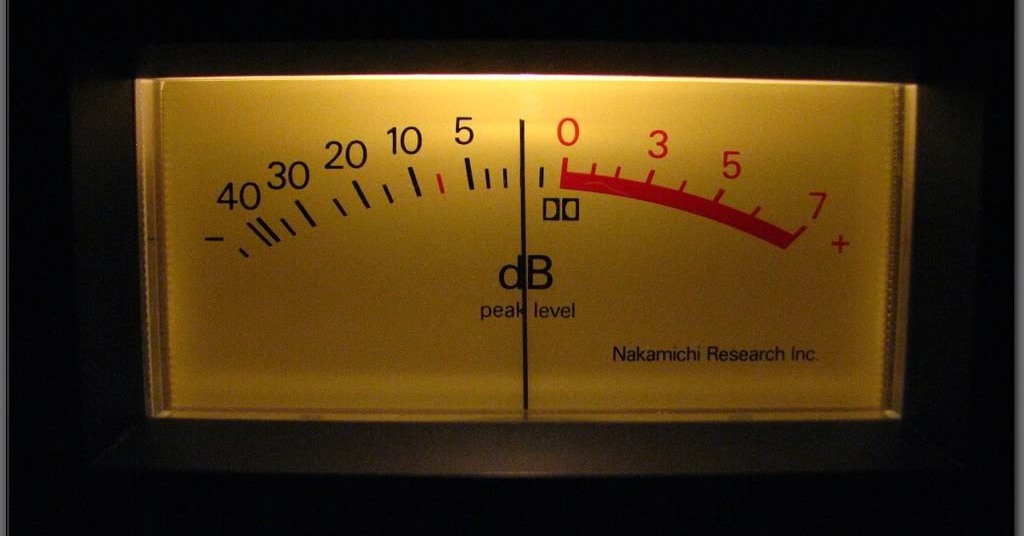
The meters on each channel will give you an indication of how loud your signal is, and it should never rise above 0db – doing so usually looks like a red light on the meter. If you turn the bass right up, you will almost certainly have to turn the overall gain right down to avoid the signal getting too loud (when sounds get louder than the system is designed to cope with, you will experience “clipping”, and in the digital realm, the experience is most accurately described as… unpleasant).
Why headroom is important

Now, an interesting phenomenon occurs when signals are mixed – despite the signals being just as loud as each other individually, the overall volume will increase because there is literally more sound – it’s important to always think of sound as a physical thing. As the frequencies from sounds combine, they become stronger, as well as creating extra frequencies (called harmonics).
Headroom is a term you will hear often, and is very much as it sounds; if you have somewhere “up” for sound to go, then it will sound less squashed and uncomfortable. The better the circuitry in the equipment or indeed the better the maths in the software, the more headroom the same volume of signal will have, and the better it can cope with fluctuations in volume from mixing signals together.
The process of mixing signals is called summing and is important to respect, as if you have all of your signals peaking at 0db, your master output might well run out of headroom and start clipping. The correct thing to do in this situation is adjust your channel gains downwards to give you some more headroom and to get that master signal back to a manageable level.
The effect of effects
There’s another part to a signal chain that a lot of people don’t think about: effects. There are two ways to add effects to a signal: either inserting them between one stage and another, or splitting audio off and “sending” part out to an effect, which “returns” the effected version to be mixed with the original. In order to have effects on separate channels of your set-up, as well as to take advantage of all the gain and EQ settings on your mixer, DJ effects are usually “send” effects. Notoriously non-standard in their implementation in DJ mixers, a send/return path at its most basic splits a signal so that it still goes to the output as normal but also goes out to an effects unit.

The effects unit sends the effected audio straight back via a return, and this signal can then (in theory) be mixed back in with the original signal via a wet/dry control. If a signal is 100% wet, only the effected audio is heard. 100% dry, only the original signal.
Whether this stage happens before or after the fader stage is important. If it happens before the faders, then using the faders to cut the volume will also cut the effect.
However if it happens after, the signal to the effects box is cut but the effect is allowed to ring out, which is a good thing for most DJs as it allows them to use delays and reverbs as creative effects when scratching and so on.
Conclusion
What does this mean for you, the in-the-box digital DJ? Well, now that you know the basics of how sound actually whizzes round your system, hopefully you’ll be able to take that knowledge and improve your sound quality. You may also currently be taking some safety measures built into your DJing set-up for granted without even realising, and getting into some bad habits – and by “bad”, I mean “not transferable”. Stamp those out and you’ll be able to rock dancefloors whatever the equipment.
Next time…
In two weeks we’ll be looking at one of the more contentious skills of the new school/old school mentality crossover: beatmatching and cueing. Until then, take a fresh look at your own equipment and make sure you put everything you’ve learned this week into practice!
Check out the other parts in this series:
- How To Earn Your DJ Stripes, Part 1: Know The Enemy
- How To Earn Your DJ Stripes, Part 3: Learn to Beatmatch
- How To Earn Your DJ Stripes, Part 4: Learn to Scratch
• Chris has been DJing and producing for nearly 15 years and teaching for five. He runs www.ohdratdigital.com, an online magazine dedicated to great new music and the hardware and software needed to produce it, featuring news, reviews, interviews, podcasts and more.

Chris Cartledge


