


This is the third part of a fortnightly guest series by Chris Cartledge of ohdratdigital.com
So, we’re here. To learn to beatmatch or not to learn to beatmatch… well, as this series is all about skills you don’t have to learn, but really should, we’re assuming you’re still reading this because you’re one of those who wants to! Because while taken totally at face value, beatmatching is an artless task, the understanding required to perform a beatmatch manually is invaluable. What follows is a beginner’s guide to beatmatching, and why it’s a good idea to learn; there’s an eight-part guide to performing your first beatmatch, and three further expert tips to make it easier for you…
Why learn the hard way at all?
You might have dipped your toes before but the safety of the sync button was too great a lure. So before we proceed, let’s remind ourselves why it’s a good idea to learn to beatmatch. The most obvious reason is that software is not always right. Plain and simple, BPM counters make mistakes, transients are misread, and of course sometimes things don’t even operate in the same way on other equipment. Using sync is fine, but you need a backup.
Another reason is much more to do with your connection to your music. It may sound a bit artsy, but the more you “bond” with your music and methods, the better a DJ you will become.
1. The theory part
There’s no getting around it – understanding the musical theory underneath beats and bars is going to help you with beatmatching. However, actually doing it is the most important thing – so please read the following, but if you struggle, move on to the steps below and have a go. These words will still be here later…
Our inference of the rhythm of a piece of music is referred to as its “metre”. A slightly more involved and encompassing concept than merely the time signature of a piece, it also refers to the way that notes within a piece are stressed and syncopated and otherwise fall on the musical timeline. To make matters more complicated, the metre – certainly the time signature – doesn’t need to match exactly for a successful mix to take place, but the two tracks will need to have a common denominator, so to speak.

Time signature is an oft misunderstood principle, but can be described fairly simply: the top number is how many beats a bar comprises, the bottom how a “note” is divided to create a single beat. A note is a musical constant and it’s a good idea to learn an ounce of musical theory to help you to understand a little better, although it’s not a necessity to do so.
The most important thing to understand is that the relationship between the amount of beats in a bar and how long those beats are creates both a natural tempo and rhythm – we think of tempo in beats per minute, so each bar in a song in 3/4 will be 25% shorter than a bar in 4/4, which has the effect of making the song sound more flighty at the same BPM. If we were to drop the tempo of the 3/4 track by 25%, it would fit into the phrasing of the 4/4 track.
The rhythmical aspect of the metre has the last word in any beat match, though, and if beats in two songs are heavily “swung” so that they fall ahead and behind a beat then they may not glue together tightly. Strictly speaking, electronic music, especially “four on the floor” dance music (music driven by a “dumph dumph dumph dumph” kick pattern) is the most cohesive musical style, tends to match fairly consistently, and is almost always in 4/4 at a static tempo.
Live recorded music such as rock is entirely the opposite, and will usually have a drifting tempo, swing and looseness to the rhythm, and is more likely to be in a different time signature.
2. The practical part
So: time to practice. Don’t worry if you feel shaky on some of the principles explained above – learning by doing will help a great deal, and you’ll begin to pick things up in no time.
I have an eight-part set of instructions followed by three expert tips that will get you up to speed as quickly as possible – but the funny thing about beatmatching is that our brains aren’t really wired for it; without a hefty amount of practice, your grey matter simply won’t be able to discern two tracks simultaneously as separate entities. So let’s start getting that practice…
Eight steps to performing a beatmatch
It’s a bit like riding a bicycle – as soon as it clicks, it’s very difficult to put into words why you couldn’t do it before. Follow these eight instructions, though, and you’ll be pulling wheelies in no time.
- The first and most important thing to do is find two songs that you know like the back of your hand. If you’re going to have a hope of discerning the two tracks separately whilst in tandem, you need to know them in isolation! Try to pick two electronic songs that are a similar BPM and a 4/4 time signature (99% of dance music is 4/4).
- Pick which will be track A and which track B, and set a cue point on track B that is on the first beat of a bar, at the beginning of a musical phrase, and at a point where the beat continues without a breakdown for at least a 30 seconds. (It could well be the beginning of the song.)

Armin Van Buuren shows off his headphone beatmatching technique… all DJs seem to settle on a preferred way to lodge that one headphone on one ear… Pic: Justin Graham Lemoine Wood - Set track A to go out through your speakers, and track B to go through your headphones. Position your headphones so that you can listen to the speakers with one ear, and a headphone cup with the other – ideally in such a way as you can move and remove the headphones as you see fit.
- Decide on a sound that is easily recognisable in track B and that plays once or twice per bar. It could be the snare drum, a particular sound effect, a vocal stab…
- Start track A playing, then when you’re ready, start track B on top of it from its cue point, so the phrasing of the two tracks match – it’s important that you always line up the first beat of the first bar in a phrase with another to ensure that the stresses in the metre (the natural “bounce” in a rhythm) “play nice” with one another and don’t confuse you.
- Now, because you know that you have started the two tracks playing at a certain point, you have a reference point. Try to ignore everything about track B except the sound you decided to concentrate on, and listen to where it falls on top of track A. You will start to notice that it either starts to fall behind where it should be were it part of track A or that it starts to race ahead. The change will start off subtle and become increasingly apparent every bar, until the point where it is so far ahead or behind that it becomes confusing.
- As soon as it becomes confusing, stop track B and bring it back to your cue point and try again. You may want to start track A again too after a few goes, so you’re always practising with the same parts of the tracks. If you think you noticed track B getting ahead last time, then you need to slow the track down this time before you try again, and vice versa. If you’re not sure, try adjusting the pitch either way by 10% – now can you tell a difference? Next time go to an extreme the other way, and make ever-decreasing circles until you start to home in on the beat match. It’s vital that every time you identify a reference point to ensure that you are always starting from a constant.
- As soon as you start to get to the point where you can notice the sound escaping in front of or behind the beat more quickly, you can begin making adjustments on the fly. Using your controller’s pitch bend or jog wheel, give track B a tiny nudge forward or back until the sound is back in line, and then alter the pitch to get closer to the correct setting. Always remember that when adjusting you always need to make these two steps, and in that order.

Pulling it all together
As you get more confident, you will start to notice that you can think about more and more of track B rather than just a single sound in it. Eventually you will be able to discern the song in its entirety, and when you can combine that skill with on the fly adjustments to the playhead on track B you will be able to make very quick beatmatches.
Three expert beatmatching tips…
The above is not easy, nor is it ever going to be – it’s a rite of passage, which is one of the reasons why so many old school DJs get hot under the collar around sync-button lovin’ digital jocks. However, here are three sage tips that will help you to get better, faster:
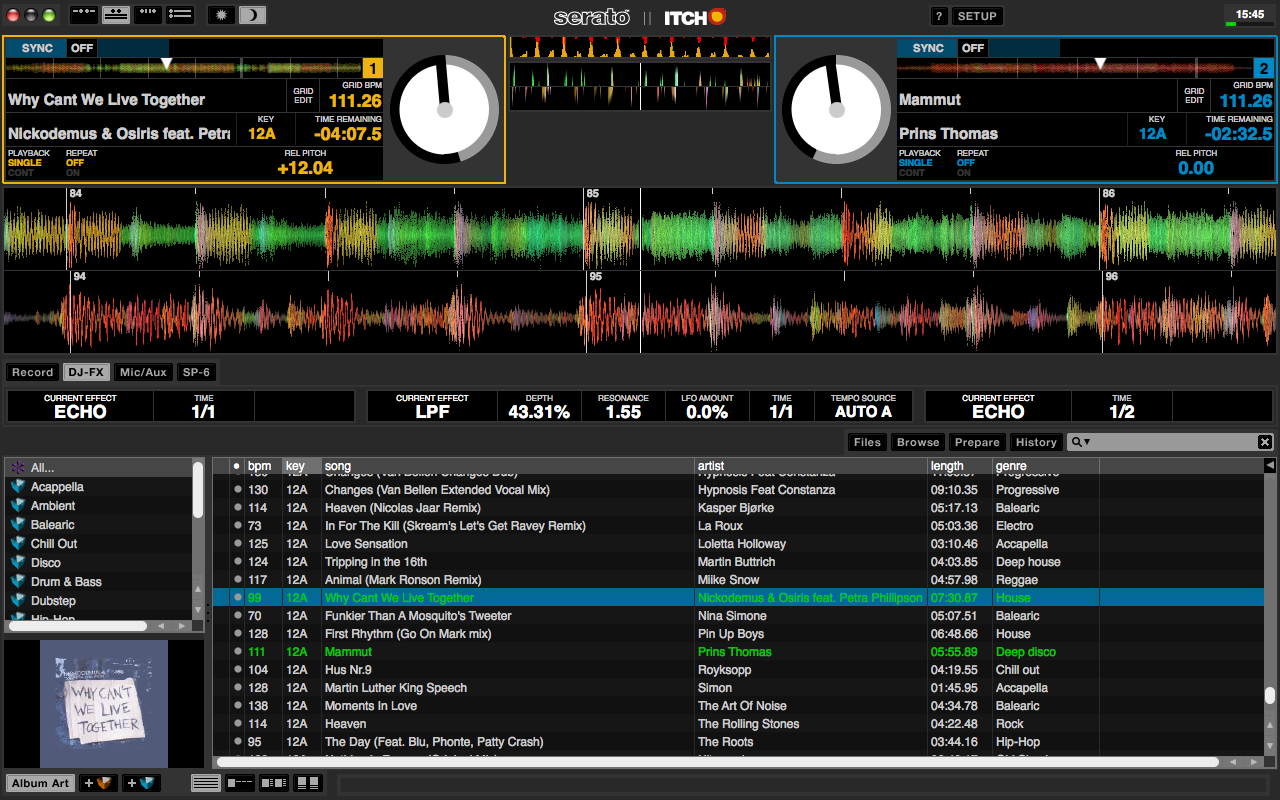
- Use your device/software’s visual indicators to give you confidence when you feel lost – linking two senses together really helps initial learning. Serato products have my favourite indicator, the stalagmite/stalagtite transient view which dynamically stretches to show you where beats are falling.
- Record your mixes one at a time and listen back as soon as you’re done – you’ll hear much easier whether you were early or late to drop it and what the speed difference is when you’re not concentrating on doing it!
- Move your headphones about a bit and experiment with volume – you may have a tendency to turn your headphones up thinking you will hear the cue track clearer, but in reality the louder the volume is the more confused and unreceptive to small changes your ears can get. Another tip is to experiment with placement – changing the perceived tone of the track coming through the headphones can help the sound you are focusing on to cut through.
Next time…
Next in the series, we’ll be looking at manual cueing and scratch techniques – things that you may miss out on if you rely on button pressing, but that can go along way to giving your performance extra sparkle.
Check out the other parts in this series:

Chris Cartledge


