

There are lots of reasons why it is a good idea to spend some time and effort (and even a bit of money) on improving how music sounds in your home studio – the place where you practise your DJing, produce your remixes and productions, or both.
It doesn’t matter if your practice studio is in fact just a corner of your living room (that’s me currently), or you’re set up in a bedroom, or you’ve got your own dedicated space for making music – improving the acoustics of that space will allow you to make better decisions when you’re mixing, resulting in better-sounding mixtapes or own productions.
If you also record vocals, it becomes even more important to have a great space to do so, or at least to have some other way of ensuring the vocals sound good.
And one often overlooked reason is that the more time you spend on improving the environment you make mixes or music in, the more likely that environment is to inspire you to produce better work.
In other words, anything at all that you do to improve your practice area will improve your creative mindset – and that includes improvements to the audio performance of your space.

OK, so we’ve established that getting the audio sounding as sweet as possible in your practice room or area is a good idea. The next question is: How? For the rest of this article, we’ll look at ways you can do this.
While not all of these will apply to everyone, I am sure you’ll spot at least something here that can help you improve the audio in your practice room or area, however modest or impressive that place may be.
5 Tips For A Great-Sounding DJ/Producer Home Studio
1. Get some audio treatment for your room
By “audio treatment”, we mean basically “soft stuff”. What we don’t want is the audio leaving our speakers, and bouncing around our room off hard surfaces, and especially corners, creating echoes, reverb and general muddiness. It’ll make our job harder as DJs and producers to hear the sound how it actually is.
If you’re kitting out a pro studio, great – get your thick carpet, soft furnishings, bass traps, and expensive audio absorption and displacement panels, by all means. Otherwise, you’ll have to be a bit more pragmatic – and that starts with improving on what is already there.
For instance, if you’re setting up in a working bedroom, you’ve probably got curtains and a bedspread already doing some of the job for you, which is great. But if you’ve also got flat, hard surfaces in the shape of wardrobes bouncing your audio around worryingly, guess what? They’re probably full of clothes, so just open them!
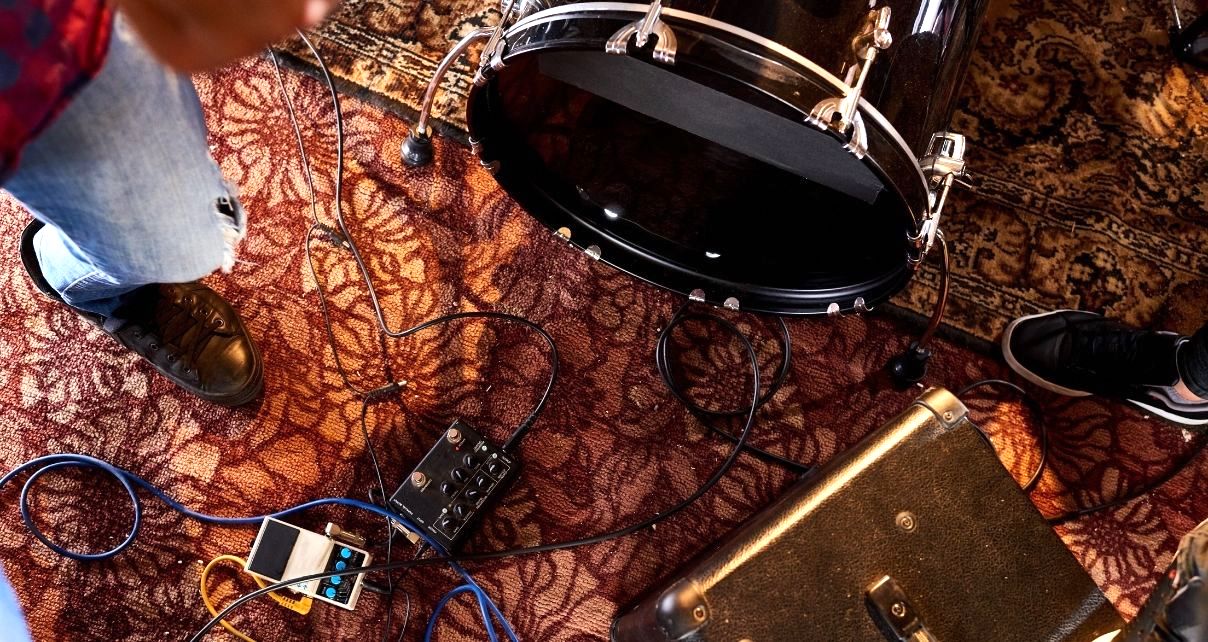
Likewise, in a living room, you may also have soft furnishing helping you to do the job. Consider getting a rug if you’ve not got carpet, to help more. If you do have unadorned room corners, get large plants to stuff in the corners to break up the sound waves.
You can get some pretty good looking (read: not “studio looking”) acoustic panels nowadays, so don’t rule out the idea, even for communal living space studios. If you are going to fit acoustic panels, start with the sides of the room relative to your speakers. Finally, never expect panels to “soundproof” your studio or room – that is never going to happen. They’re strictly for improving the sound within the room.
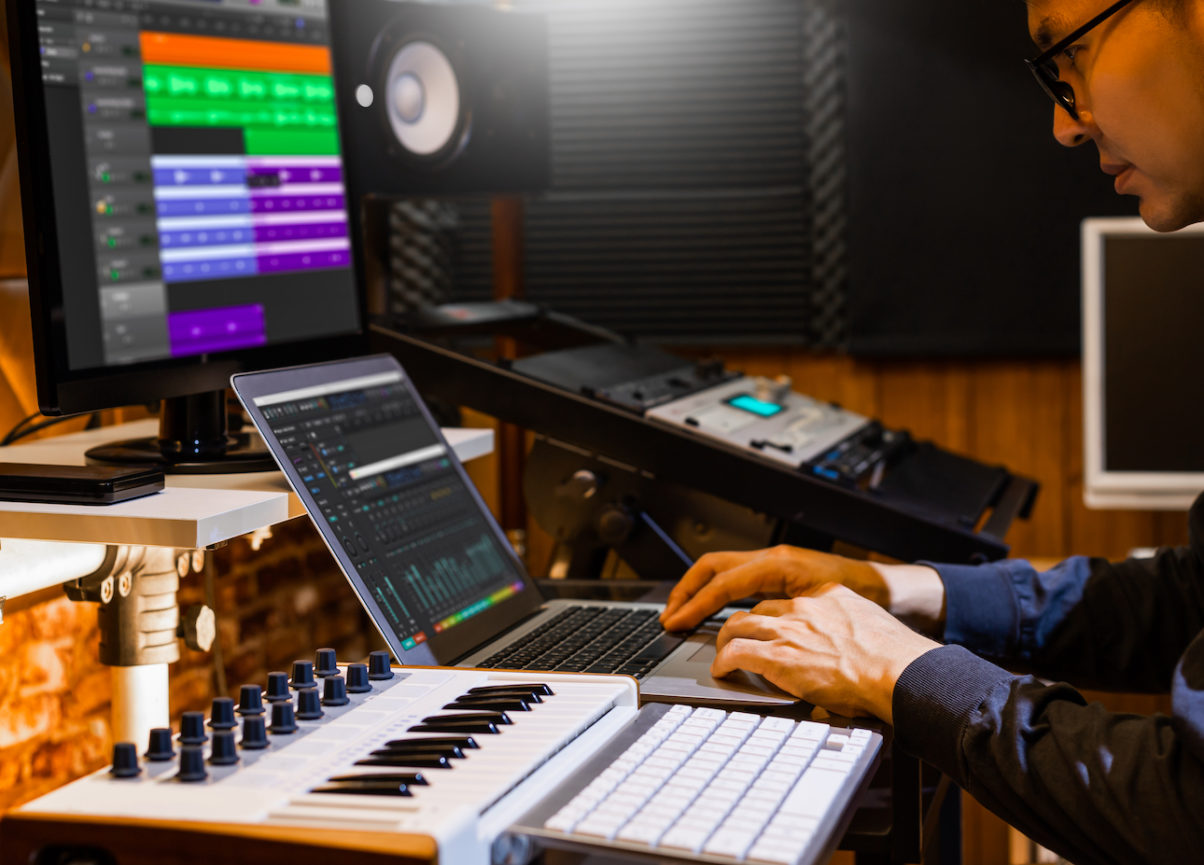
2. Use the best loudspeakers you can afford
There’s no point using cheap multimedia speakers you bought for your desktop computer ten years ago if you want to be able to produce great sounding DJ mixes, re-edits and productions. It really does pay to invest in decent speakers.
Read this next: The 4 Types Of Loudspeaker Every DJ Needs To Know About
What you want is “near-field monitors”, which are designed to be close to your head when DJing or producing. Most have built-in amplification nowadays. Cheaper models tend to have a primary and a secondary speaker, with the amp in one speaker and the second simply a “passive” speaker, but as you move up the price chain, you get individually powered speakers, which you usually buy individually.
Names like Adam Audio and KRK come up a lot for budget models, and one compact model we particularly like is the IK Multimedia iLoud MTM, which while not that cheap, sound great for what they are, and come with a special tuning device to get them sounding the best they can in any studio.
But just go with the best you can afford – check out reviews here or on other sites, and try to hear before you buy (or buy from somewhere with a good return policy).
3. Get your loudspeakers out of the corners of the room
This can be tricky as of course they’ll take up more space, but it’ll really pay dividends if you can manage it. Corners are the worst, but walls are bad too, so basically the more “into” the room you can get them, the better.
The reason is that corners of rooms tend to over-emphasise the bass, more so with rear reflex speakers (those that have a “hole” at the rear of the speaker).
By moving your speakers away from corners and walls, you’ll hear the bass more truthfully, meaning your mixes will be more likely to have just the right amount of bass when heard on other speakers or headphones.
4. Get some ear-level stands for your loudspeakers
Stands achieve two things for you (three, actually, but one has nothing to do with audio quality).
Firstly, they isolate your speakers, meaning you don’t get everything the speakers are rested on vibrating as well as the speaker cones (think of a table wobbling with bass when you have a speaker in it). This improves the sound quality.
Read this next: 7 Things To Consider When Setting Up A First Home Music Studio
Secondly, a well-chosen stand will hold your speakers so the tweeters (the small speaker cones that handle treble, or high frequencies) are level with your head in your sitting or standing position, which is the right place for them to be. Some stands are even adjustable to give you a choice.
(Oh, and that third reason? Stands positioned behind your workstation free up desk space, if the alternative was to have the speakers on your workstation – a big consideration in smaller studio set-ups, like mine for instance.)
5. If you’re recording vocals, try using a microphone shield
When you’re actually recording audio in your studio (and for electronic producers, that’ll usually mean recording vocals), room acoustic issues become critical. Ambient and reflected noise can wreak havoc with your recordings, and no amount of digital processing afterwards can ever totally fix such recordings.
But the issue is that it costs a lot to get a room acoustically good enough to get great results. We’ve resorted in the past to recording under a double quilt in a bedroom for some of our content!
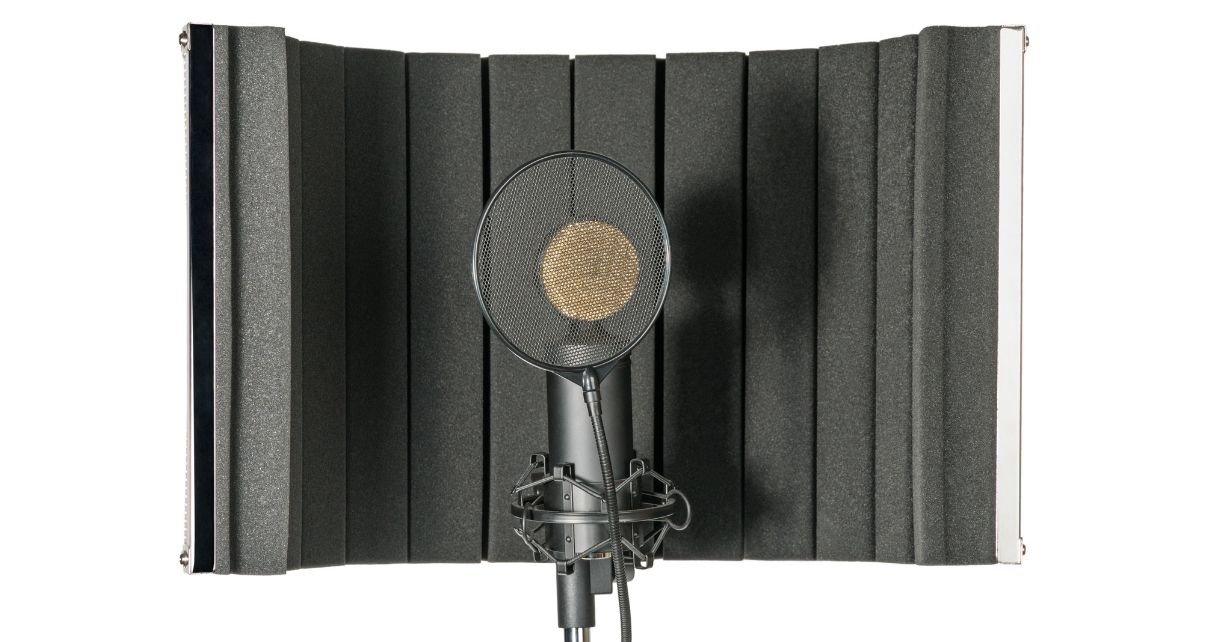
Recently, though, there’s been a trend for microphone isolation shields – rounded acoustic panels that wrap around your microphone at least 180 degrees, either sitting on a table or attached to a mic stand. These can give your recorded vocals a real quality bump, without too much expense – expect to get one for $50 for generic models to $200 or more (the Aston Microphones Halo is a good higher-end choice).
Level up your remix game: Laidback Luke’s Bootlegs, Mashups & Re-edits
Finally…
Concentrating on getting your audio right is at the very least a good idea, for all DJs and musicians. It’s a nice-to-have for DJs, a prerequisite once you start to make your own music, and imperative if you’re actually recording audio.
Don’t get overwhelmed though, or chase perfection – most amateur DJs and producers have to compromise at every step of the way, so do what you can, and always be mindful of the next step you’ll take (as and when you can) to improve things further.
Every penny spent on improving your audio will be a penny worth spending – so next time you’re tempted to buy an expensive piece of non-essential kit, maybe spend some money on your audio environment instead. Your ears will thank you for it, and your DJ mixes and productions will sound better as a direct result.

Phil Morse


")