


The Lowdown
Odesi is a DJ/producer’s composition launchpad. It’s like having access to a hitmaking playbook: You can select a formula and patterns, and then add your own spin to it in your favourite digital audio workstation. Highly recommended to those who have started producing in a DAW and know some basic music theory – this is a fantastic song idea generator, and I can’t get enough of it.
Video Review
First Impressions / Setting up
Odesi can work entirely in your browser, so I headed to the site and fired it up. There’s an option to download the Mac desktop version of Odesi, and it lets you choose from a lot of sounds for the individual tracks which is great, and I recommend that you grab it too. If you’re on a PC, you’ll have to wait a little longer to get the desktop app, which is coming early 2016.
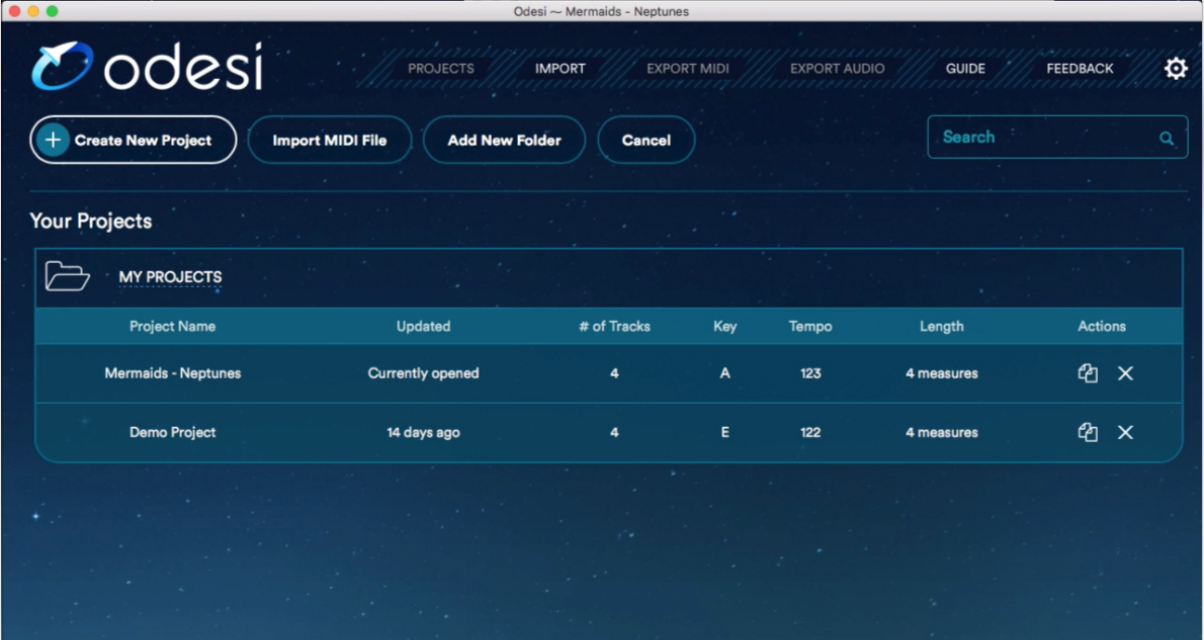
There’s a demo song to check out if you want to see what a finished project looks like. I made my own by clicking on Create New Project and got it on.
In Use
Odesi looks like a DAW’s Midi editor: You start out with a blank grid in the middle of your screen, and you’ve got a piano keyboard to the left (seven octaves, which we’ll get to in a bit) and a set of drum sounds below it.
This is all pretty standard stuff, but what sets Odesi apart from everything else out there right now can be found to the right of the screen: Here you’ve got the Chord, Melody, Bassline, and Drums tracks. There are four tracks by default, and you can add and remove as needed.
When you click on Chords, you can choose “Add Chord Progression”, and now you’ve got four bars of the grid filled out with a chord progression, which is a sequence of chords within a scale. You can click on Lock, which prevents changes to be made to a track, Hide to make the notes within a track disappear, and Solo to hear the track by itself.
Scales? Keys? Wha…!?
- A scale is a group of musical notes. There are a ton of music scales, but the most common are the major and minor scales, which are made up of seven notes, plus the octave (same as the first note, but higher in pitch).
- A musical key is a scale plus the first note in the scale: For example, if you are playing the minor scale of A (A B C D E F G), the musical key is A minor.
- Musical keys in the minor scale are popular in dance music, and many big room / mainstage tracks are made using this scale.
- Chords are two or more notes within a scale that are played together. Most popular music follows a sequence of chords, known as a chord progression.
- A chord progression is made up of chords based on the chosen scale (eg I VI iv VII, which you’ll hear in my demo video)
You can choose a chord progression from Odesi’s list (there are currently 138) based on the musical key that you’re working in, which you can select at the top of the screen. You can also adjust the tempo or BPM of your project to suit the music you’d want to produce.
Same with the Bass and Drums layers, you can choose from different popular patterns for both instruments. This is especially handy if you aren’t familiar with arranging drum parts and bass lines, because there are just so many different ways to go about programming them.
Plotting bass parts, for instance, can be a challenge for both novice and intermediate producers just because there are myriad possibilities, and the really cool bit about Odesi is that it hands the most probable (and ear-friendly) ones to you, minimising guesswork while teaching you in the process.

There aren’t as many patterns to choose from in the Drums track, but since we’re making dance music that’s OK (most house / EDM / techno has a “four on the floor” beat). If you want to pencil in your own drum patterns or edit the existing ones, you can just click on “Add Drums” and then “Edit By Hand” to do this.
The Melody track is where you can write your own main melody by drawing on the grid or using your computer’s keyboard to play notes. Drawing and editing notes are Odesi’s weak points but they’re relatively minor – they’re just not as intuitive as a full own DAW yet. For example, I couldn’t find a quick way of changing the note lengths of multiple notes using just my mouse. Of course, these things will be improved as versions roll out.
Once I was happy with my four bar composition, I just clicked Export Project, which exported it as a Midi file (you can also choose audio if you want, for sending as a demo to someone you’re collaborating with). I then imported the Midi data into Ableton Live as a new project, dropped in my choice synths and drum sounds, and had the beginnings of my next floorfiller… all in a matter of minutes!
Conclusion

There really are no hard and fast rules when it comes to music production, but there are some guidelines that you can adhere to in order to make dancefloor-ready tunes, and Odesi offers those in spades. It does require a basic understanding of music theory (eg what scales are, how chords are made, etc), but that’s essential knowledge for just about any music producer, and you really should at the very least know what music notes are (ie pitch and note values).
This is not a DAW in itself folks, and if you aren’t familiar with how a DAW works, you’ll want to learn one first (Ableton Live is our recommendation), especially since the workflow, interface, and basic commands here are quite similar to a DAW.
Once you’ve cleared these two small hurdles, you’ll find an immense amount of creative possibilities using Odesi. I’ve only spent the past week prior using it, but already I’ve got a ton of great ideas to flesh out in Ableton Live later on. The coolest part here is I don’t have to go googling for “popular EDM chord progressions” or “dance bassline” and stuff like that anymore – there’s so much here already, plus I can audition them one by one to instantly know which one I’d like to use. It’s like having access to a pop producer’s hitmaking playbook: You can select a formula, and then add your own spin to it in your favourite DAW.
The clearest analogy of Odesi I can think of is a writer’s pad that you take with you – in it you write ideas, concepts, and thought experiments for later processing when you get to your main work desk. It’s the starting point for potentially great work which you’ll be fleshing out later on, because the music you make is always a work in progress.
Rare is the tune that gets composed, fully produced, and mixed down in one sitting – you’re more likely to spend several sessions writing the main progression and melody, choosing synths, crafting sounds, and so on. Each process has its own set of tools, and as a result, you may find yourself using Odesi for your songwriting more than you initially thought – I know I am!
