Whether you are mixing using DVS or with traditional vinyl, every DJ should know how to properly handle and look after records. I have seen countless DJs mishandle their vinyl, much to my chagrin. Learn to look after your wax and you will be surprised at how long they will last.
6 Steps
1. Store your records properly
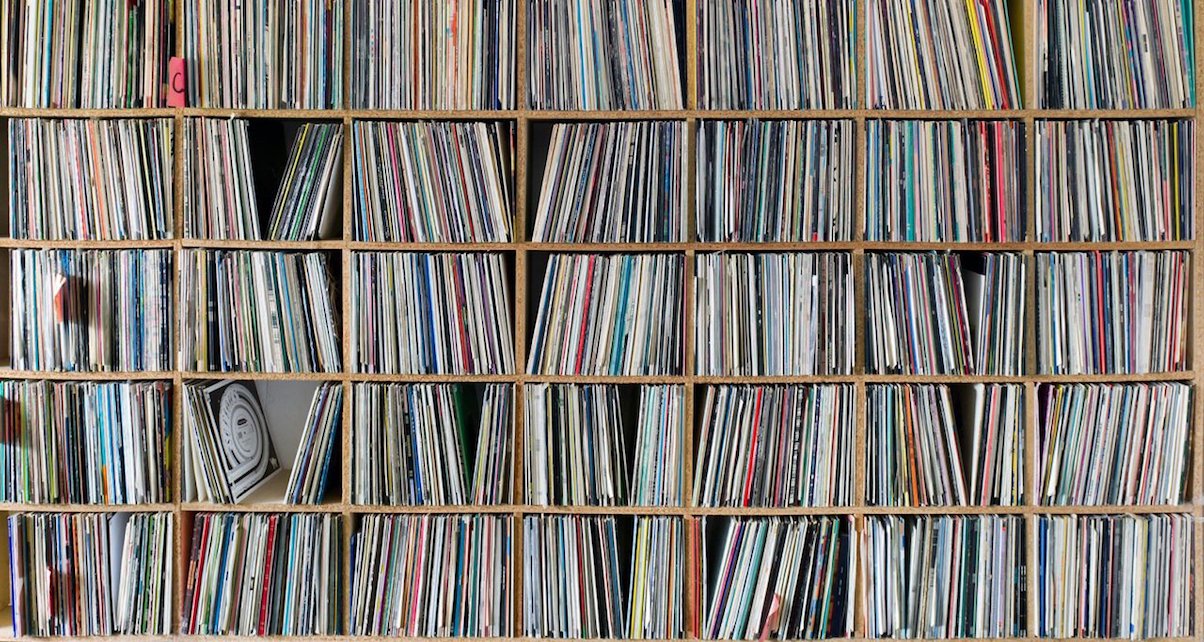
First of all, any records that you have should be stored properly, this means in an upright position as pictured above. If you leave your records in a flat pile, they will start to warp over time. You can still mix with warped records but is is not ideal as the needle is always prone to jump out of the groove because the record is no longer flat. If the record becomes “dished” (exactly as it sounds) then one side will be difficult to cue as there will be less friction between the record and the slipmat. Warped records also lose a lot of their value should you ever need to sell.
You also want to make sure that your storage unit is in a place with stable temperature and humidity levels. Swings in temperature will also cause warping and if there is too much moisture in the air, there is a good chance of mould starting to grow on the records and sleeves. Proper storage temperature is around 10°C (50°F), with around 30-40% relative humidity. That being said, as long as the temperature is stable and your collection is out of direct sunlight, room temperature is perfectly fine.
Most records will come with a paper inner sleeve to keep dust off the surface of the record. Generally, these are OK but it is advisable to switch them for anti-static polyethylene ones (you can find on Amazon). Some of the paper ones can be quite coarse and this will start to wear the records down as you keep taking them out and putting them back into the sleeve over time. Wherever possible, you should put the outer sleeves in special plastic bags as well. This will extend the life of some of your favourite artworks and offer protection against potential spillages.
You should also bear in mind that the weight of all your records soon adds up. Any shelves you use should be strong enough to take the weight, you don’t want to come back home one day to an expensive mess.
2. Play them on a properly set up turntable
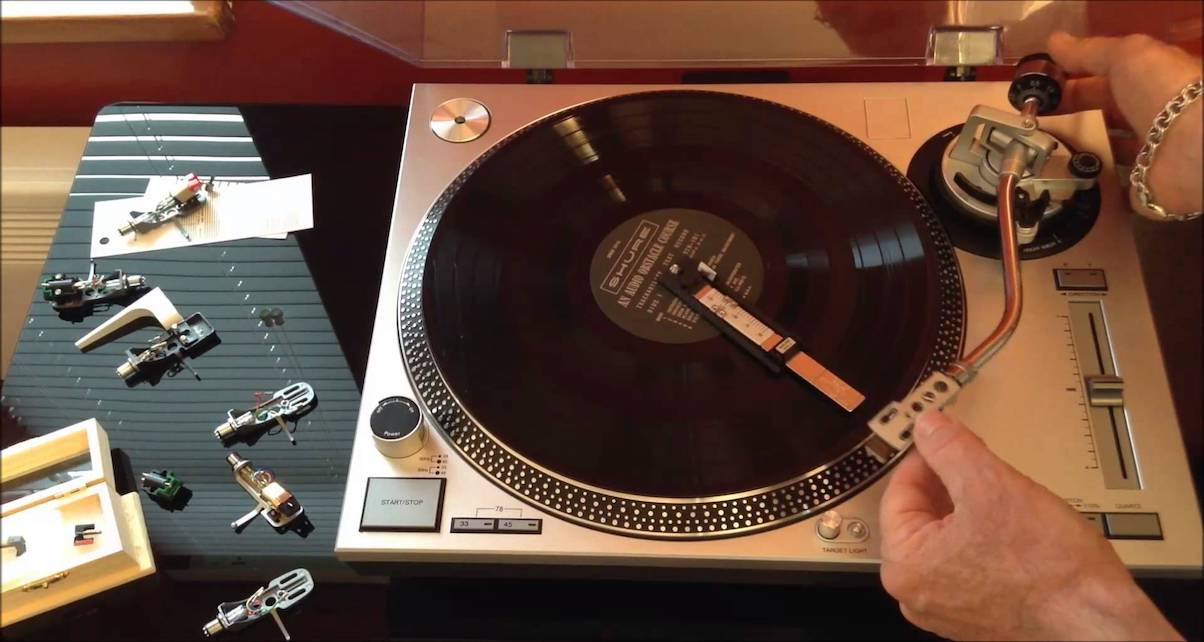
For DJing, you will need to change and check some of the settings on the turntable before you drop the needle. First up, make sure that the tonearm is at the right height (horizontal to the record). This ensures that the needle is making contact with the record at the correct angle. This is important to minimise wear, get the best sound possible, and also to get an accurate signal for your DJ software to interpret if you are using DVS.
The tonearm also needs to be checked and balanced to make sure that there isn’t too much weight on the needle but just enough to make sure that it doesn’t jump out of the groove when cueing. Finding the sweet spot can be a bit fiddly but you will get a feel for it after a few tries.
Not all needles and cartridges are designed for DJing and if you use the wrong type or a worn out needle, you will damage your records. DJ needles have better tracking capabilities and are designed to allow you to back cue records with minimal wear. One last thing here, and something that is often missed, is that if you are scratching or back-cueing, you need to make sure that anti-skate is set to “0”, this function is designed to prevent inner-groove wear only when using a turntable for traditional purposes.
3. Keep your fingers off the grooves!
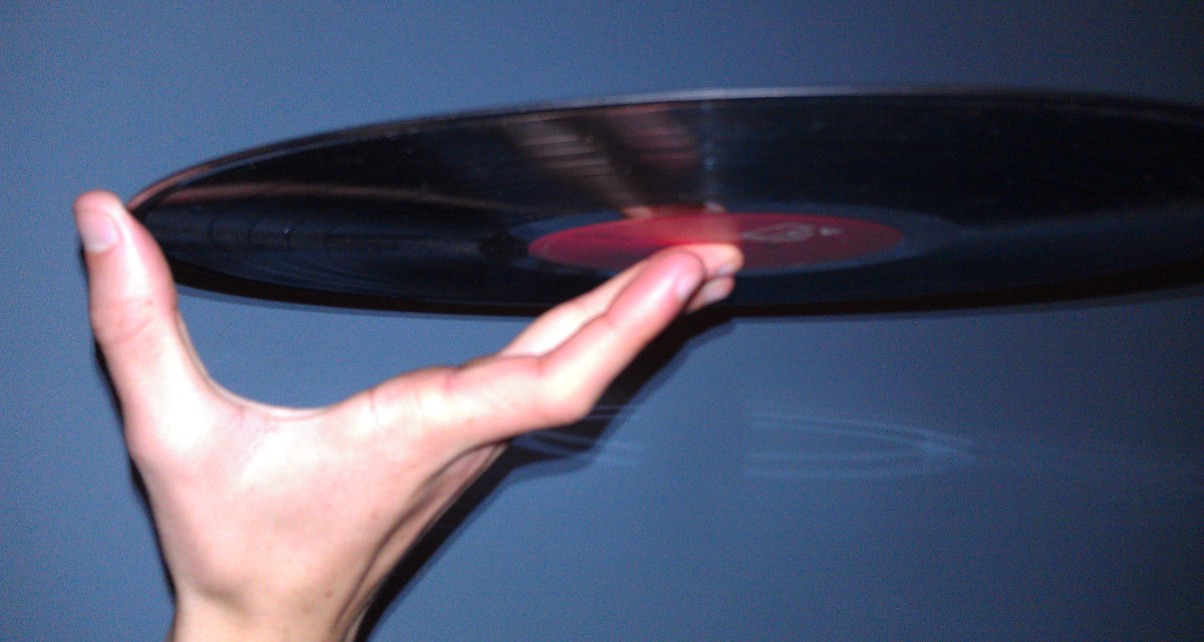
In order to keep your records in top form, try your best to keep your fingers off the grooves. Use the centre label and edges when handling and manipulating the record. If you don’t do this, you will leave dirty, oily fingerprints on the record surface and this will negatively affect the playback and sound quality of your tracks. Even if you don’t see any dust or gunk on the record, use a proper record brush to clean it before you play it.
Playing a filthy record will cause dust to pile up on the needle. This sounds awful and eventually, when the needle has collected a load of dust, it will jump out of the groove and across the record, scratching it in the process. This will permanently damage the sound quality and add skips and pops to your prize tunes. Damaged timecode vinyl will have the same effect, sending your DJ software haywire. Unless you have a spare timecode with you, you could be snookered mid-set as you won’t have the option of just picking a different record.
Whenever you are handling records out of their sleeves, take your time! If you are rushing and not paying proper attention, they are easy to drop and damage. The same goes for when you are cueing and placing / removing the needle. If you rush and cock it up, the needle can skate across the record and scratch it or can fall off the record and break that way. Less haste, more speed!
4. Put your records away after playing them

After playing a record, give it a once over with your trusty record brush. It only takes a second and will keep your vinyl in good nick. Don’t be lazy, put the record back in the correct sleeve straight away and if you can’t put it away, place it somewhere safe in an upright position.
You will see lots of DJs “dropping” their records back into the sleeves, don’t do this. As previously discussed, if you have paper inner sleeves, this damages your records.
You should also make sure that you put the inner sleeve inside the outer sleeve so that dust can’t get in and onto the record (sure, it might take longer to get to your records but that’s what the inner sleeve is for, to keep dust out) Lot’s of DJs skip this step. Doing this has the added bonus that your records can’t accidentally “fall out” of the inner sleeve and onto the floor.
5. Clean your records often
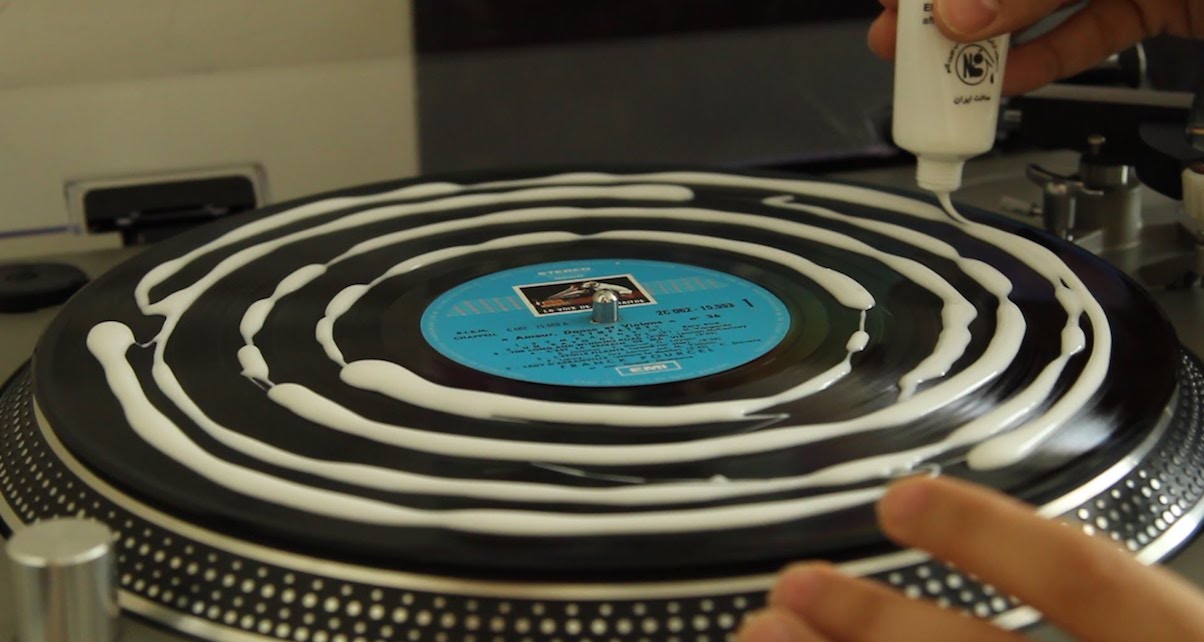
To look after your vinyl properly, you will need a specially-designed cleaning cloth or brush. Usually, these are made from carbon fibre and as discussed, you should give each record a once over before and after playing. Sometimes, there is too much muck for a cloth or brush to get off. For these cases, you can bathe the records in lukewarm (not hot) water with dish soap (Fairy, Dawn etc) and then dry them out properly afterwards. There are also special cleaning solutions, machines and professional services available. As is seen in the picture above, there is a cleaning trick some people use that involves wood glue. Don’t bother risking damaging your needles by playing these dirty records.
If you have somehow managed to warp some of your records, there are only limited ways in which you can “fix” them. For dished records, you can buy a special weight in order to “flatten them out”. I have read about people placing records between two sheets of glass and putting them in the oven for a short while. They say that it works but I wouldn’t try it. As they say: prevention is better than cure.
If you have badly scratched your records then there is nothing that you can do. It’s unfortunate, but you are going to have to pony up for a new copy. Also, it sounds obvious but you should keep your brush and whatnot clean as well: there is no point cleaning with dirty equipment is there?
6. Teach your friends
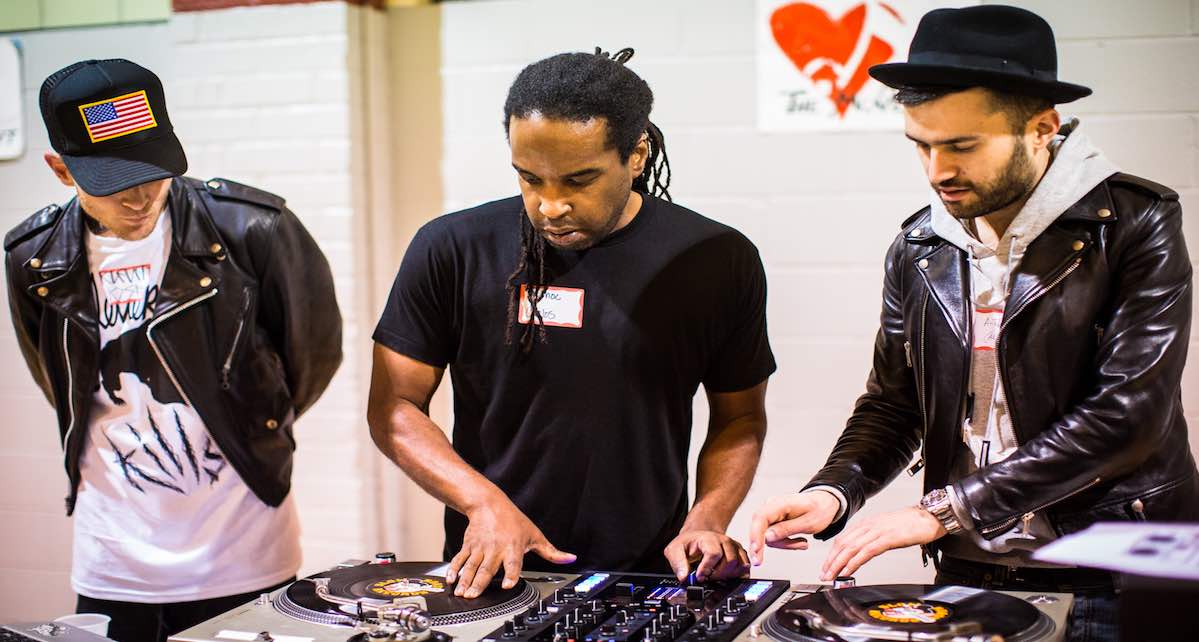
One of the major downsides to vinyl is that you need to flip them and manually change tracks. Sometimes, you just can’t be bothered and will want someone else to do it for you. If you are going to have your mates change tracks, at least show them how to do it properly and make sure they also understand the importance of following your instructions.
Nothing worse than falling out with your mates because they ruined your Mum’s favourite Diana Ross single that you snuck out of her collection, all because you didn’t teach them properly. Who knows, if they aren’t DJs already this might spark their interest in the craft as well!
Finally…
If all that didn’t discourage you from getting involved with vinyl or a DVS, then great! It’s an enjoyable, slightly more physical way of mixing tracks. Vinyl records aren’t really as fragile as most people think – they are quite robust, but that doesn’t mean that you should respect them any less. I remember how careful I was when I first started out and I remain as careful to this day. As a result, I can get 100s of plays out of records with very little wear at all. This is an especially important consideration with timecode vinyl because they are in constant use, not getting switched up each track like you would with traditional records.
Did we miss anything in this article? Do you have a special routine for looking after your records? Have you had any disasters with vinyl or know anyone that has? Let us know in the comments below…


![Tutor AMA [DJ School Live Special] Tutor AMA [DJ School Live Special]](https://cdn.digitaldjtips.com/app/uploads/2023/10/10190314/aua-website.jpg)

