

That tangle of mystery cables stuffed behind your gear isn’t going to sort itself out, but this practical guide is a good starting point. No more guessing, no more Googling – we answer all the questions you’ve ever had about DJ cables, from “Will this shock me?” to “Why won’t my turntable stop buzzing?” (and everything in between).
We get asked these questions all the time here at the school, and this All-Access Pass exclusive answers all of them. Watch through the video above, then reference this article as needed – by the end, you’ll know exactly how to set up any DJ gear you come across.
Power, microphones, and audio inputs
Every piece of DJ gear starts with power. Higher-end units use a kettle lead (officially called an IEC lead), which plugs directly into the back and handles the voltage conversion internally. Mid-range gear uses a power brick, which does the same job externally. Smaller, cheaper controllers often skip a power input entirely and run straight from your laptop via USB.
Microphone inputs on most DJ gear use combi jacks – they accept both XLR connectors (the big round professional type) and quarter-inch jacks. Either works, so whatever cable your mic has, you’re probably fine.
For audio sources like CD players and media players, you’re looking at RCA cables – the red and white ones. White is left, red is right. You can’t damage anything by swapping them, but your audio will be reversed left-to-right, so get into the habit of doing it correctly from the start.
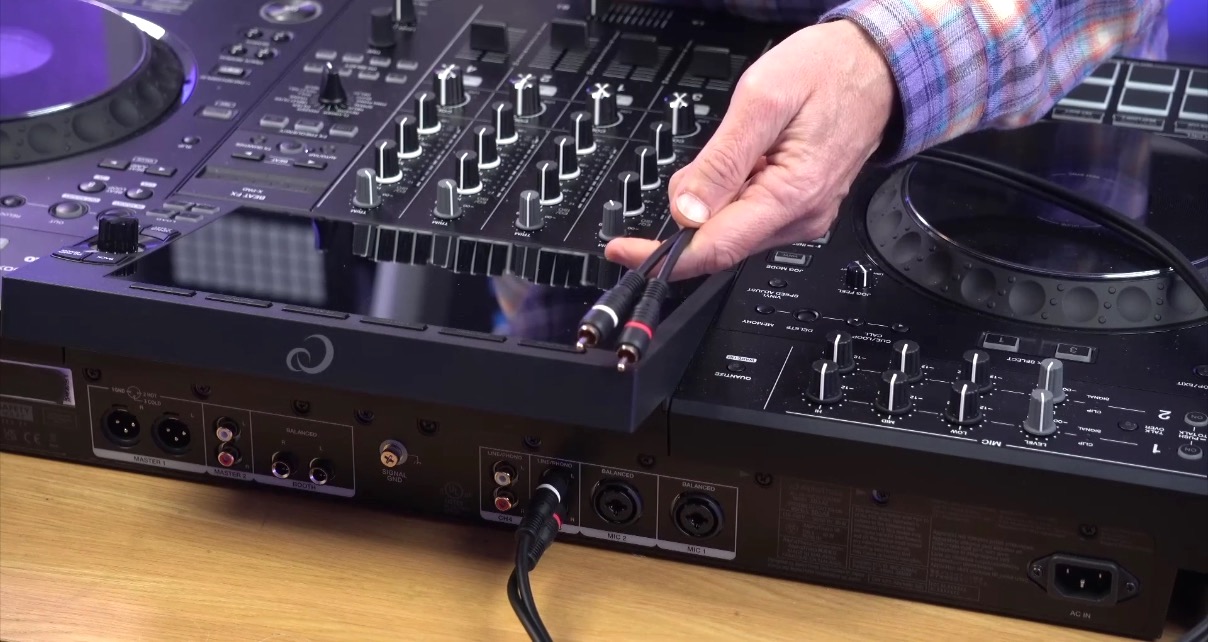
Turntables use RCA cables too, but with two important differences. First, the signal from a turntable is much quieter than from a CD player, so your gear needs a phono preamp to boost it. Most mixers and controllers have a switch (or software setting) to toggle inputs between phono and line mode. Get it wrong and you’ll either barely hear your decks or hear distortion when anything else is plugged in.
Read this next: 7 Technics Turntable Hacks Every DJ Should Know
Second, most turntables have a separate earth cable that connects to a small terminal on your mixer, usually labelled GND. Connect it. If your turntable sounds awful with a constant buzz underneath, a missing earth lead is almost certainly why.
Audio outputs and headphones
Your main outputs send the mixed signal to your speakers or PA system. The quarter-inch and XLR sockets in the output section are balanced connections, meaning they have technology built in to preserve the signal over long cable runs – you’ll spot them in use when speakers are a long way from the DJ booth. XLRs come in “male” and “female” versions, both carrying the same balanced signal at opposite ends of the cable.
For gear that’s sat right next to each other, you don’t need balanced cables. That’s why most DJ gear also has standard RCA outputs – simpler, cheaper, and perfectly fine over short distances. Even professional DJ mixers use RCA inputs between channels because everything is right there on the same unit.
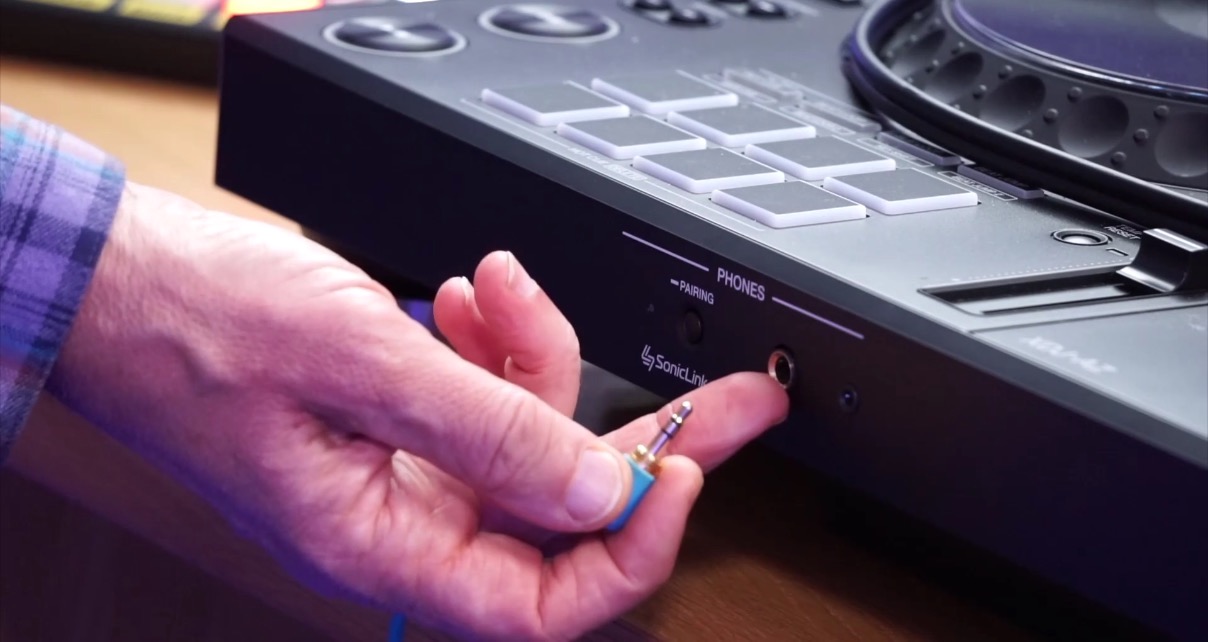
Headphone sockets come in two sizes: 3.5mm (mini-jack) and quarter-inch (the big one that proper DJ headphones use). Both carry a stereo signal, and both do the same thing – having the option just means you can plug in any headphones without an adapter.
Sign up to Tuesday Tips
 Free newsletter
 Your weekly digest of the latest training, gear reviews, industry news, and exclusive tips and tricks to help you stay ahead in your DJing.
We collect, use and protect your data in accordance with our Privacy Policy.
USB, ethernet, and the cables in between
The USB connections on your DJ gear link it to your computer, allowing it to work as an audio interface and controller. You’ll find USB-B (the squarish printer-cable type, still common on most DJ gear) and increasingly USB-C. Either type does the same job, just keep in mind that some USB-C carry power rather than data. If your gear has two USB-C ports, one is almost certainly the power input – don’t mix them up!
Read this next: DJ Mixer Inputs & Outputs – Every Connection Explained
Ethernet connections let your gear talk to other units on the same network – sharing music from a USB drive across multiple media players, syncing BPM information, and so on. It’s also a more reliable internet connection than Wi-Fi if your gear supports streaming. That said, as Wi-Fi improves, Ethernet is becoming less common on newer units – you’ll typically only find it on higher-end systems nowadays.
Cable quality and looking after them
You’ll sometimes see a small cylindrical lump near the end of a cable. That’s a ferrite clamp – it’s designed to reduce interference and signifies a higher quality cable. If yours has one, that’s a good sign.
A quick note about “quality”: we don’t recommend spending a fortune. Dirt-cheap cables are poorly made – thin wire, weak connections, plugs that fray quickly – but beyond a mid-range price point, you’re paying for little to no practical difference. Think of it like ordering wine in a restaurant: go somewhere towards the bottom middle of the list and you’ll be fine.
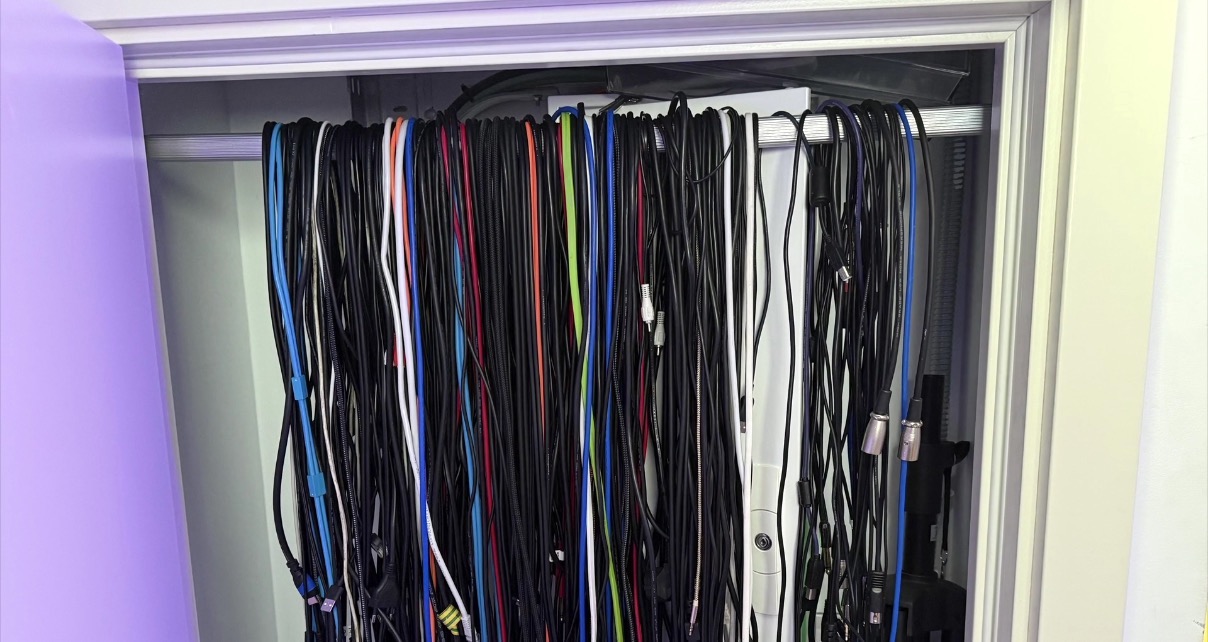
And finally, look after your cables. Bending them too sharply will eventually break the wires inside. Coil them loosely and secure with Velcro. A wardrobe rail across a cupboard is a great way to hang them when you’ve got quite a few building up.
Finally…
Knowing your cables is only the beginning, but it’s a crucial part of mastering your DJ gear. At the school, we teach the five areas of DJing: gear, music, mixing, performing, and success, and our book Rock The Dancefloor! covers all five (it’s free to download).
Found this lesson helpful? Becoming an All-Access Pass member gets you lifetime access to every course we offer – from gear fundamentals like this to mixing, performing, music production, and beyond. If you want to go from figuring things out via trial and error to following a structured learning path with full tutor support, this is the one to get.

Phil Morse


